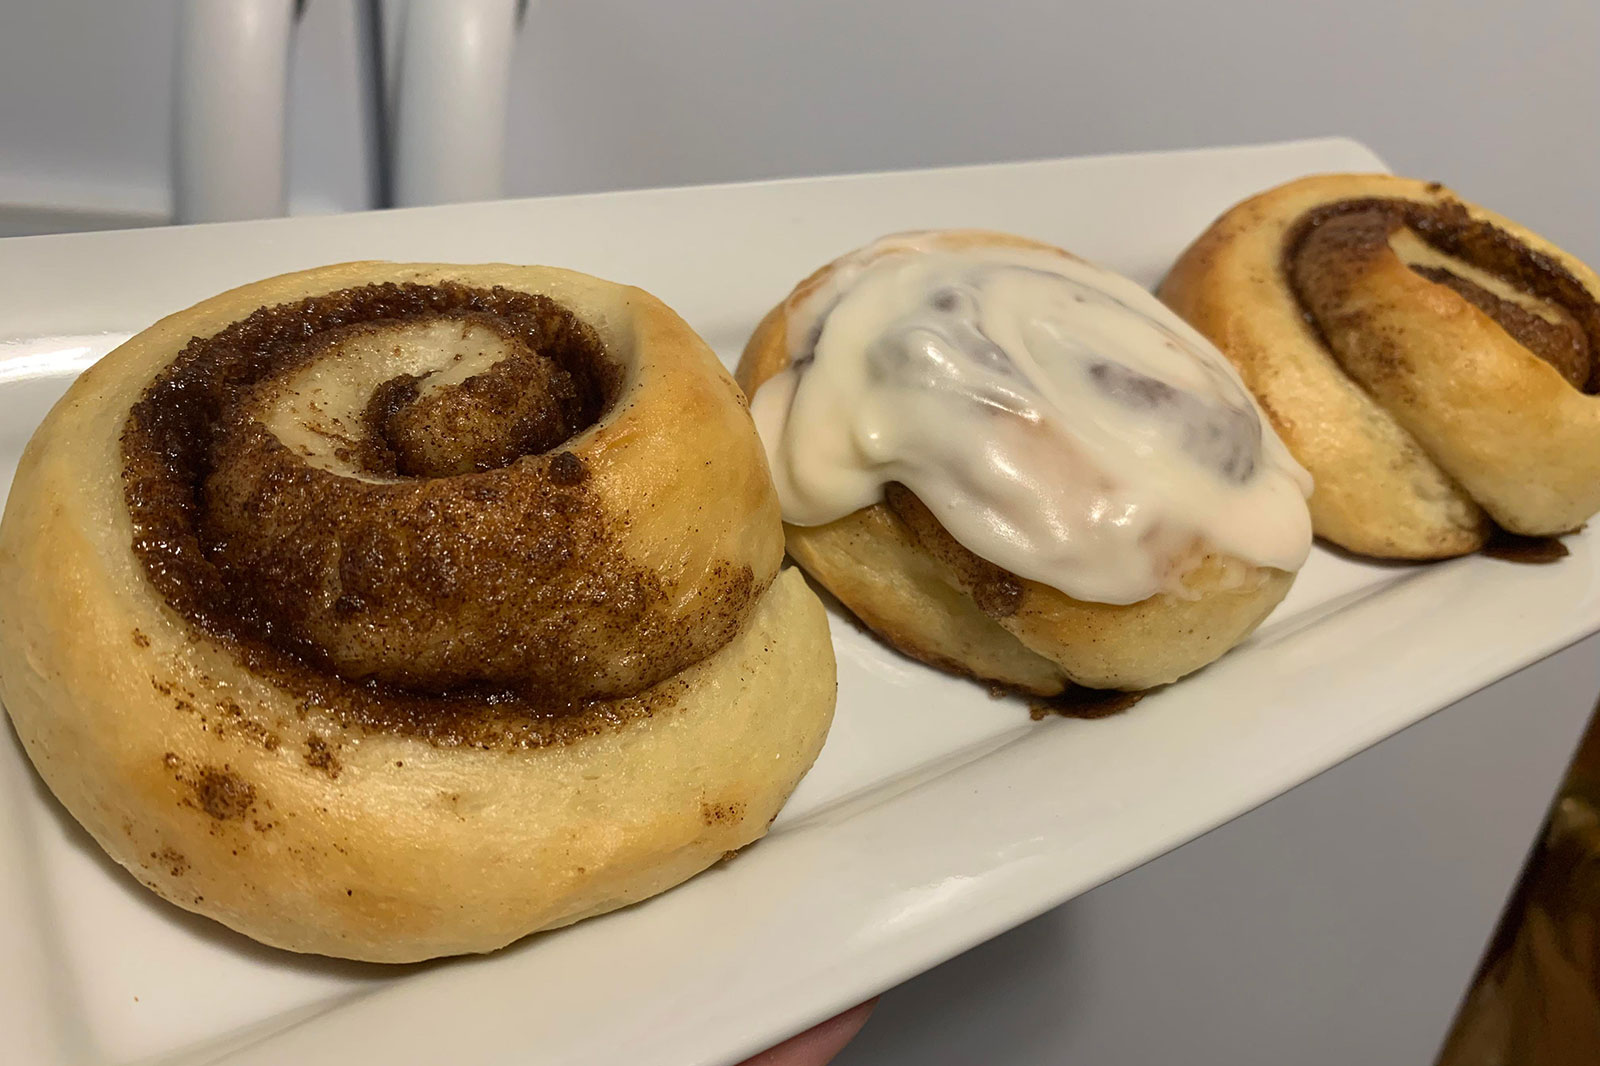
There’s something special about the combination of cinnamon, brown sugar, icing, and a fluffy and buttery pastry. Cinnamon rolls are not only part of many families’ holiday traditions, but iconic sweet treats people enjoy everyday. I have had some pretty amazing cinnamon rolls over the years. This recipe is a new one I tried this year during the holiday season, and I can say without a doubt, it’s my favorite.
Ingredients:
Tangzhong*
- 1/2 cup (113g) milk, whole preferred
- 3 Tbsp (24g) unbleached bread flour
Dough
- 2/3 cup (151g) milk, cold, whole preferred
- 2 1/2 cups (300g) unbleached bread flour
- 1 tsp (6g) salt
- 2 Tbsp (25g) granulated sugar
- 2 tsp instant yeast
- 4 Tbsp (58g) unsalted butter, softened
Filling
- 1 Tbsp (14g) butter, melted
- 1/2 cup (107g) light brown sugar, packed
- 2 Tbsp (14g) unbleached bread flour
- 4 tsp (10g) cinnamon
- Pinch (1/16 tsp) salt
Icing
- 3 Tbsp (42g) butter, melted, divided
- 1/2 tsp vanilla extract
- Pinch (1/16 tsp) salt
- 1 1/2 cups (170g) confectioner’s sugar
- 1-2 Tbsp (14g to 28g) milk, cream, or buttermilk; enough to thin to desired consistency
Instructions:
- To make the tangzhong: Combine both ingredients into a small saucepan, and whisk until there’s no lumps remaining.
- Place the saucepan over medium heat on your stovetop. Cook the mixture, while stirring regularly, until it is thickened (paste-like). Your spoon or spatula should leave lines on the bottom of the pan (about 1-3 minutes).
- Remove from heat and transfer to a large mixing bowl, the bowl of a stand-up mixer, or the bucket of a bread machine.
- To make the dough: Weigh your flour; or measure it by gently spooning it into a cup, then sweeping away any excess. Add cold milk to the mixing bowl, then the flour, then the remaining dough ingredients in order as listed above.
- Mix — by hand, on low speed of a stand mixer with the dough hook attachment, or in a bread machine set to the dough cycle — to bring the dough together. Next, knead the dough until it’s smooth, elastic, and tacky. This will take up to 15 minutes by hand, 10 to 12 minutes on medium-low speed of a mixer, or the length of the dough cycle in a bread machine.
- Shape the dough into a ball, place it in a bowl, and cover the bowl with plastic wrap or a reusable cover.
- Let the dough rise until puffy but not necessarily doubled in bulk, about 60 to 90 minutes (depending on the warmth of your kitchen).
- To make the filling: While the dough is rising, put the melted butter into a medium bowl and add the remaining ingredients, stirring until the mixture is the texture of damp sand. Set aside.
- Lightly grease a baking sheet, or line it with parchment paper.
- To assemble the rolls: Transfer the dough to a lightly greased work surface and press it into a 10 x 12 rectangle that’s about 1/2” thick. For evenly shaped rolls, try to pat the dough into an actual rectangle (with corners), rather than an oval.
- Sprinkle the filling over the dough, covering all but a 1/2” strip along one long side.
- Starting with the filling-covered long side, roll the dough into a log.
- Score the dough lightly into eight equal 1 1/2” to 2” pieces; this will make large, saucer-sized cinnamon rolls — their generous size is part of their charm. Cut the dough at the score marks. Dental floss will give you the cleanest cut: pull off a long piece of floss, loop it underneath the log at the score mark, and pull the ends in opposite directions to cut the dough. Repeat until you’ve cut all of the rolls. If you don’t have dental floss, a bench knife or sharp knife will work.
- Place the rolls onto the prepared baking sheet, spacing them so there’s at least 2” between each one and they’re 2” away from the edges of the pan; a 3-2-3 arrangement works well. To prevent them from unraveling while they rise and bake, tuck the ends of the spirals underneath the rolls so that they’re held in place.
- Cover the rolls with lightly greased plastic wrap or a reusable cover and let them rise for 30 to 60 minutes (depending on the warmth of your kitchen). The rolls should be puffy and the dough shouldn’t bounce back immediately when gently pressed.
- About 20 minutes before you’re ready to bake, position a rack in the top third of the oven. Preheat the oven to 375 degrees.
- Bake the rolls for 14 to 18 minutes, until they’re a light golden brown and a digital thermometer inserted into the center of one roll reads 190 degrees. Bake for the lesser amount of time for extra-soft rolls, and the longer amount of time for rolls with a bit more color and slightly firmer texture.
- Remove the rolls from the oven, place the pan on a rack, and brush the hot rolls with 1 1/2 tablespoons (21g) of the melted butter. Let the rolls cool for 10 to 15 minutes before icing.
- To make the icing: Combine the remaining 1 1/2 tablespoons (21g) melted butter with the remaining icing ingredients in a medium bowl, mixing with a spatula until smooth. Milk makes a lovely frosting; using cream in place of milk creates an extra layer of richness, while substituting buttermilk adds subtle tang, a nice counterpoint to the icing’s overall sweetness.
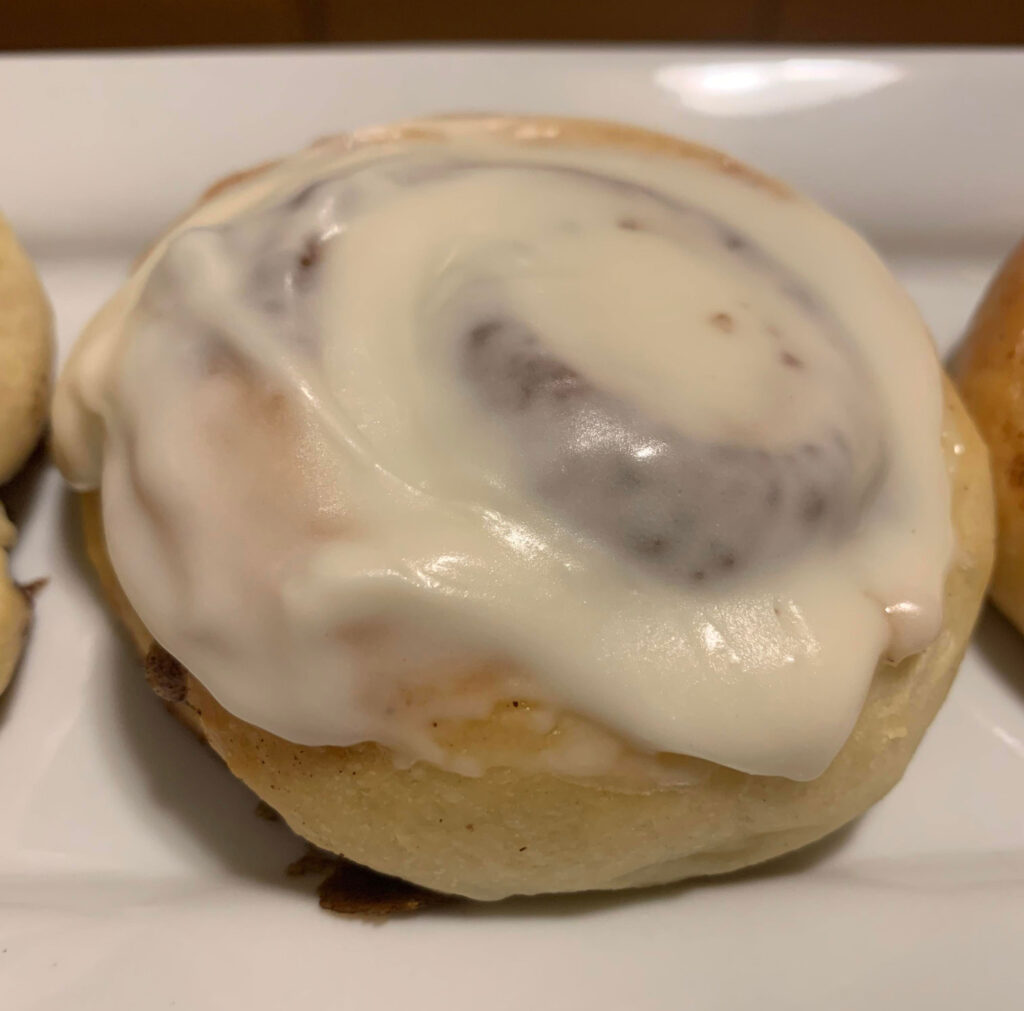
- Ice the rolls and serve immediately. If you’re planning to serve the rolls later, wait to ice them until just before serving. Store icing at room temperature, tightly covered, until you’re ready to use it.
- Store completely cooled rolls, un-iced and well wrapped, for a couple of days at room temperature; or freeze for up to 1 month.
Tips:
- Pushing the dental floss technique to cut the rolls is ingenious! Perfect, smooth cuts each time.
- If you’re like me, and are calorie conscious, then feel free to make the rolls smaller. When I’ve made them for family events, or at home, I typically cut the log into 10 rolls. This also yields more if you’re entertaining.
- For a fun treat, try switching up the icing. Add some orange zest and a teaspoon of freshly squeezed juice from an orange to your icing (use a little less milk). You can use buttercream cream or cream cheese frosting as well.