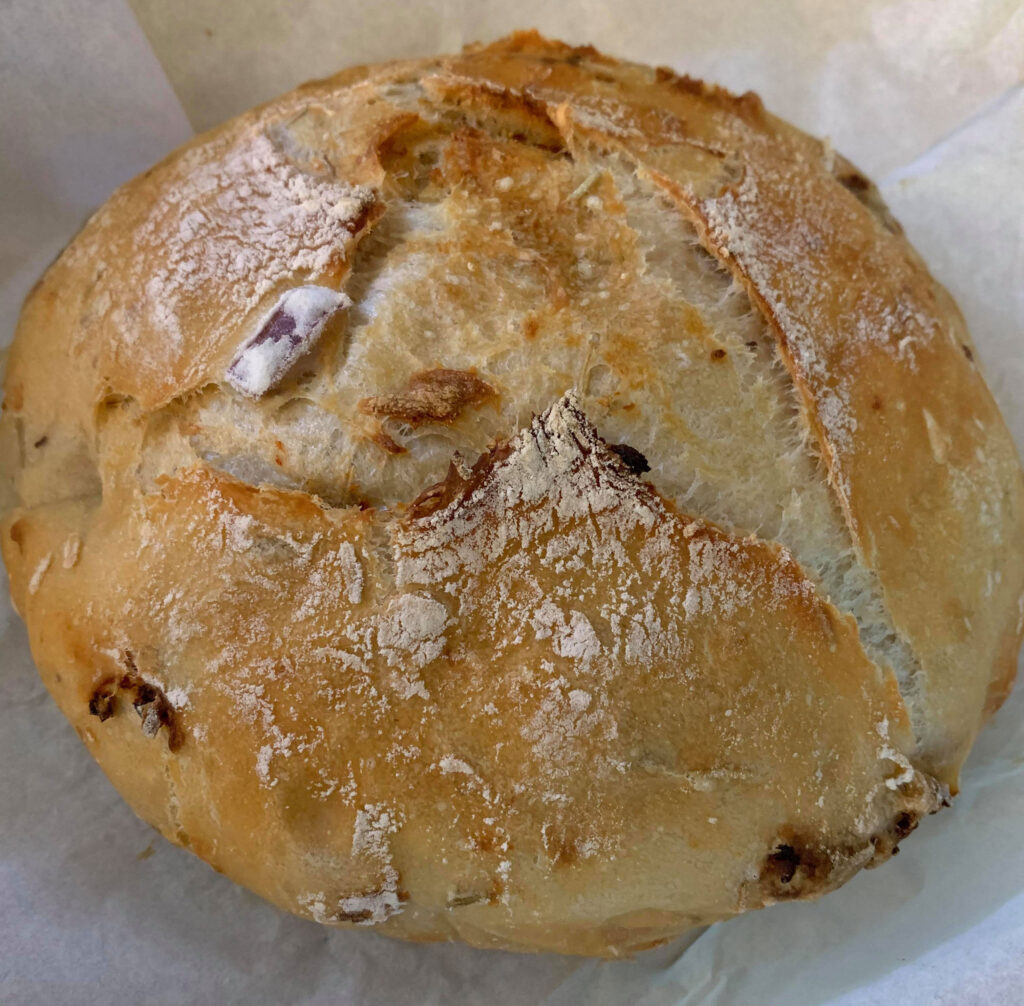
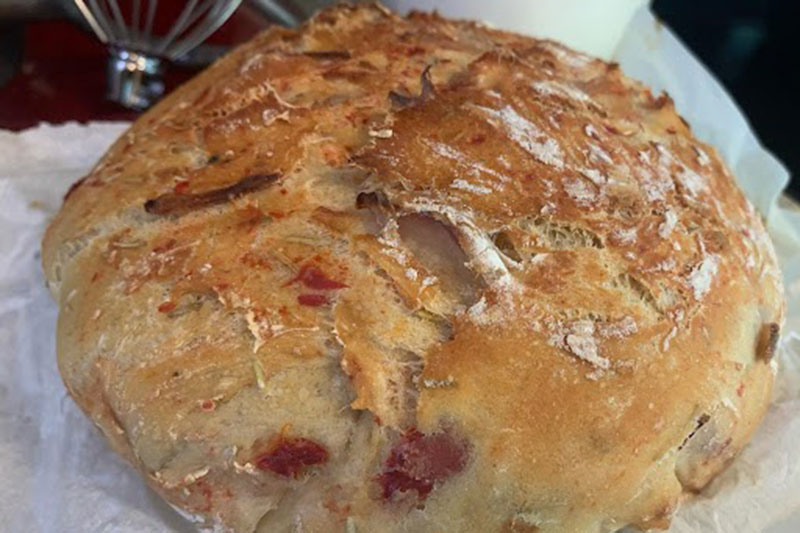
When I first started baking bread, I was nervous about the entire process. I looked at a recipe that I had found and quickly realized (after researching some of the words in the recipe I did not know) that there’s more to baking bread than I had thought. It’s definitely an art. Since that day I’ve baked many successful loaves of bread (I’ve had a few failures as well). I’m excited to start baking sourdough this fall. However, bread making does NOT have to be difficult. The absolute best bread I have made is a no-knead bread. I make a loaf at least once a week. It’s simple, requires little ingredients, and truly anyone can make this bread. It’s versatile and very forgiving.
Ingredients:
- 3 1/4 cups (425 grams) of all-purpose flour
- 2 tsp of fine sea salt
- 1/2 tsp of active dry yeast (you may use instant yeast, but use 1/4 teaspoon)
- 1 1/2 cups (360 grams) of warm water (around 110 degrees Fahrenheit)
Directions:
- Stir the dry ingredients in a bowl (flour, salt and yeast) until combined.
- Add the water and stir with a wooden spoon, spatula, or Danish dough whisk until fully combined (no large flour streaks). The dough will be loose and shaggy.
- Cover the bread bowl with plastic wrap and let sit at room temperature for at least 12 hours. I typically wait around 24 hours. I’ll make the dough one night, and then bake the following.
- Remove the dough and place on well-floured surface. Fold the dough on top of itself by pulling the outer edges up and into the center. Do this a few times to make a ball of dough that is tight and keeps form. Add more flour, if necessary. It will be sticky, so I use plenty of flour on my hands and surface. Lightly flour the top of the bread and flip the ball of dough onto a sheet of parchment paper (so that the smooth side is on top). Use your hands to reshape the dough into an even circle. Cover with plastic wrap loosely and let rise while the oven heats.
- Take a Dutch oven (I have a cast iron one that works very well) and place it in your oven on the middle rack. Make sure the lid is on your Dutch oven and then preheat your kitchen oven to 450 (with the Dutch oven inside to also preheat). When the oven gets to temp, remove the Dutch oven (be careful as it will be hot). Remove the lid and place the parchment paper and dough into the Dutch oven. Place the lid back on and put it back in the oven. Bake with the lid on for 30 minutes. After 30 minutes, remove the lid and bake for an additional 20 minutes.
- Remove the Dutch oven from the oven (again, remember it will be piping hot). Remove the bread from the Dutch oven and place on a cooling rack. Allow bread to cool before slicing into it.
- Enjoy!

Tips and hints:
I always measure using grams. It is the only way to get exact measurements. Your end product will be much better.
I purchased a water kettle that tells me the exact temperature of the water, but you can just use a kitchen thermometer and heat the water as needed. The temperature doesn’t have to be exactly 110, but close within a few degrees.
Make variations of the bread! Here are some simple additions:
- Sprinkle a tablespoon or so of dry Italian seasoning when making the dough to make a quick herbal bread.
- Add dried rosemary when making the dough, and then when baking, add crushed roasted garlic, sliced onions, and sun-dried tomatoes (I’d soak them in water for an hour or so to rehydrate them) to the dough during the shaping step.
- When shaping the dough, add chunks of cheddar and diced jalapeños to the dough for a delicious and spicy treat.
- When you remove the top of the Dutch oven after baking for 30 minutes, sprinkle shredded Asiago cheese over the top of the bread and allow to bake the last 20 minutes to give it a crunchy cheesy taste!


